 DIGA Set-up
Let configure your DIGA™ using the bundled IR remote control. Before starting DIGA set-up, make sure your iPhone® / iPod touch® / iPad® connect to your Wi-Fi network.
Turn on your DIGA and your TV to display DIGA’s video.
If anything other than DIGA’s video appears on your TV, select your TV’s video input appropriately for DIGA’s using your TV’s remote control.
Make sure if DIGA is ready for set-up. This set-up cannot be proceeded when DIGA records or transmits (over DLNA) any contents or programs in the background.
Step-1:
Push [FUNCTION MENU] key on your IR remote control to display the FUNCTION MENU on your TV.
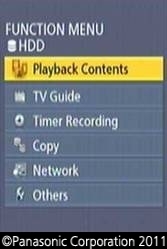
Step-2:
If the FUNCTION MENU does not show HDD between “FUNCTION MENU” and “Playback Contents” select HDD using [DRIVE SELECT] key on your IR remote control.
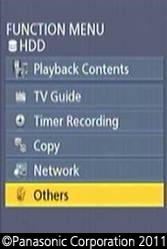
Step-3
Select “Others” in the FUNCTION MENU using your IR remote control.
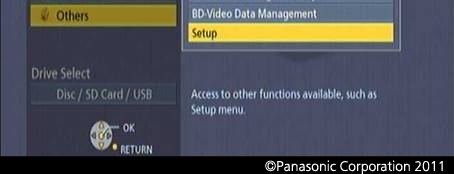
Step-4
Select “Setup” in the list using your IR remote control.
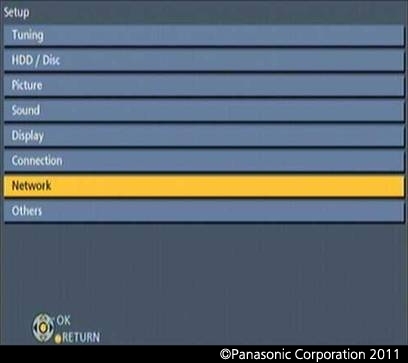
Step-5
Select “Network” in the Setup using your IR remote control.
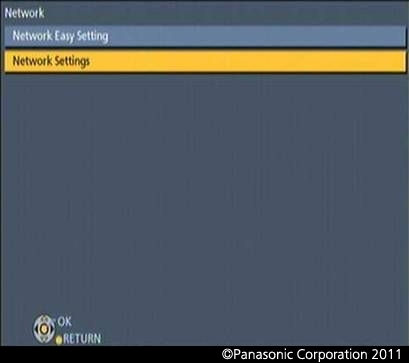
Step-6
Select “Network Settings” in the Network using your IR remote control.
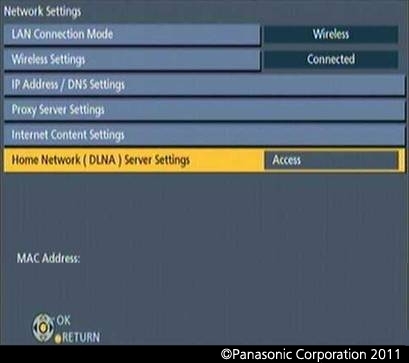
Step-7
Select “Home Network (DLNA) Server Settings” in the Network Settings using your IR remote control.
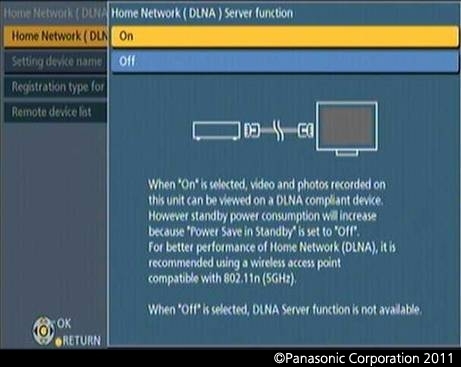
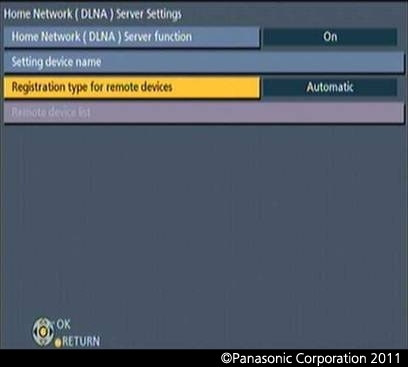
Step-8
Select “Home Network (DLNA) Server function” in the Home Network (DLNA) Server Settings using your IR remote control.

Step-9
Select “On” in the Home Network (DLNA) Server function using your IR remote control.
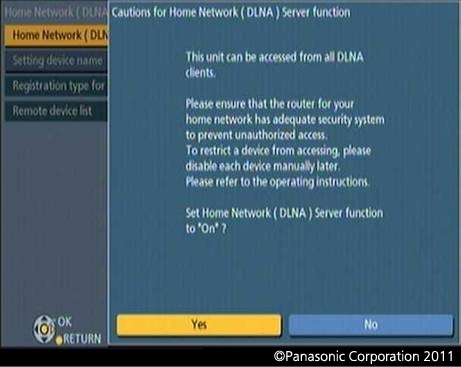
Step-10
If the following messages appear on your TV, select “Yes” using your IR remote control. Otherwise, proceed to the next step.
Step-11
Select “Registration type for remote devices” in the Home Network (DLNA) Server Settings using your IR remote control.
Step-12
Select “Manual” in the Registration type for remote devices using your IR remote control.
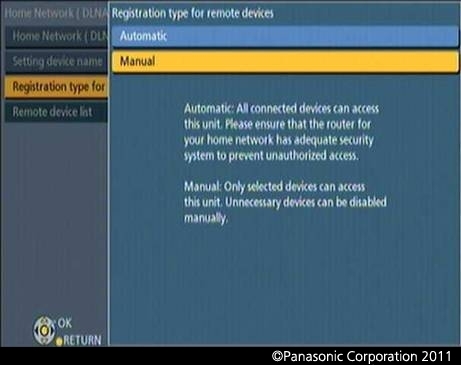
You can choose “Automatic” instead to skip the following step-13 through step-16.
However, in this case, any iPhone / iPod touch / iPad on the same network (i.e. same subnet)
where your DIGA is on can control your DIGA using this Title Search for DIGA. Due to your security,
you are recommended to choose “Manual” when you use Title Search for DIGA.
Step-13
Launch Title Search for DIGA on your iPhone / iPod touch / iPad with tapping the icon of Title Search for DIGA.
![]()
Title Search for DIGA starts searching of your DIGA for a while. Probably the message “DIGA was not found.”
Appears on the display because your iPhone / iPod touch / iPad has not been registered in your DIGA.
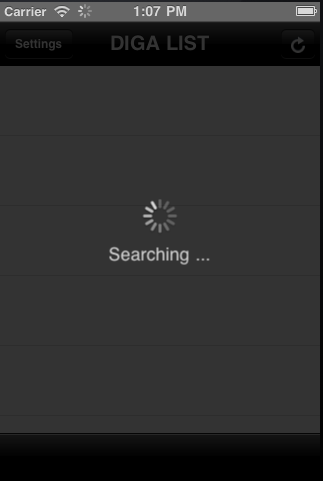
Tap [OK] on the screen of your iPhone / iPod touch / iPad.

Push Home button to exit Title Search for DIGA.
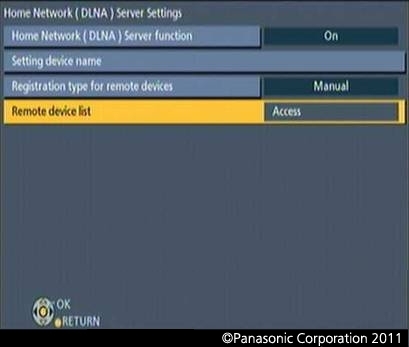
Step-14
Select “Remote device list” in the Home Network (DLNA) Server Settings list using your IR remote control. When the pop-up dialogue appears, choose “OK” to proceed.
Step-15
The Remote device list shows an MAC Address of your iPhone / iPod touch / iPad.
Select the MAC Address for your device using your IR remote control.

If an MAC Address of your iPhone / iPod touch / iPad, your device may not connect the same network where your DIGA is on.
Make sure if your device has appropriate Wi-Fi settings.
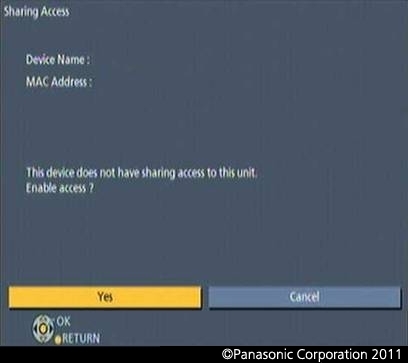
Step-16
Select “Yes” to enable remote control from your iPhone / iPod touch / iPad.
NOTE:
・Apple, iPad, iPhone and iPod touch are trademarks of Apple Inc., registered in the U.S. and other countries.
・DIGA is a trademark of Panasonic Corporation, registered in Japan and other countries.
・Wi-Fi is a registered trademark of Wi-Fi Alliance.